Upcycled Memory Shirt tutorial


How to make a shirt into a cushion cover
This will be my first tutorial, so do please bear with me. I was asked last week if I could turn some shirts into cushion covers. Of course I said yes, it can’t be hard to do. Then I was asked to ensure that the shirts stay intact. These shirts were sensitive and were to be given as memorial gifts. Cue my search on the internet for sewing tutorials as I felt that I may be out of my depth. I found plenty of blogs describing how to turn unwanted shirts into cushion covers, all of them required cutting off the sleeves and collars.

None of those blogs were what I was after, which meant that I was going to be going in blind as it were. I spent a grueling 8 hours bent over the sewing table, pinning and re-pinning the first of seven shirts, trying to find ways to fold and layer the fabrics so they would sit flat. I should point out that sewing isn’t my usual craft, and I am still very much a beginner. Not wanting to make any mistakes I spent a long time trying to get the shirts to look right before any actual sewing began.


After 3 shirts, all of which were folded differently, I now feel confident enough about finishing off the project and decided that I would log the whole process with photographs and share the outcomes with you all. So here goes….

First things first, prepare the fabric. Using a steam iron make sure that the shirt is ironed flat. Do up the buttons and give it another run over with the steam iron, this will help to judge the best place to mark out the cushion pocket.
Lay your cushion pad on top of the shirt, preferably in the middle. I have used an 18″x18″fibre filled pad, available from Amazon.


Measure and mark out (with pins) the dimensions of the cushion pad. Thankfully all the shirts I have been working on are all checked patterns, making sewing in a straight line much easier. I used the stripes as guide lines throughout the whole project.


 When sewing, try to sew straight. For going over the button join help feed the fabric through the feed dogs to prevent it getting stuck. To turn the corners, lower the needle into the fabric using the wheel, lift the foot, then turn the fabric to the direction you are going, lower the foot and continue to sew the cushion pocket.


You now have a cushion pocket sewn in to the shirt, here’s comes the fun bit. I’m afraid you will need to do a fair amount of ironing now. You will be folding the sleeves, collar and hemline of the shirt onto the back of the shirt. Leaving the button seams as the opening on the front. As you fold the sleeves, collar and hems you will need to use the steam iron to create flat edges and seams, use pins to hold all parts of the shirt in place.

I folded the shirts so there was about 1.5 cm between the pocket seam and the edge of the shirt. Once all parts of the shirt are pinned flat, go over it again with the steam iron to ensure the fabric is flat and creased well.
 Back at the sewing machine sew around the edge of the shirt again, creating an almost Oxford seam. Be careful not to sew off the edges, but stay as close as you are able. Again I used the checked stripes as a guideline.
The final stages do include hand sewing. To tidy up the arms, collars and hemlines you will need to sew a few stitches at various points around the shirt so that those bits don’t “flop” around.

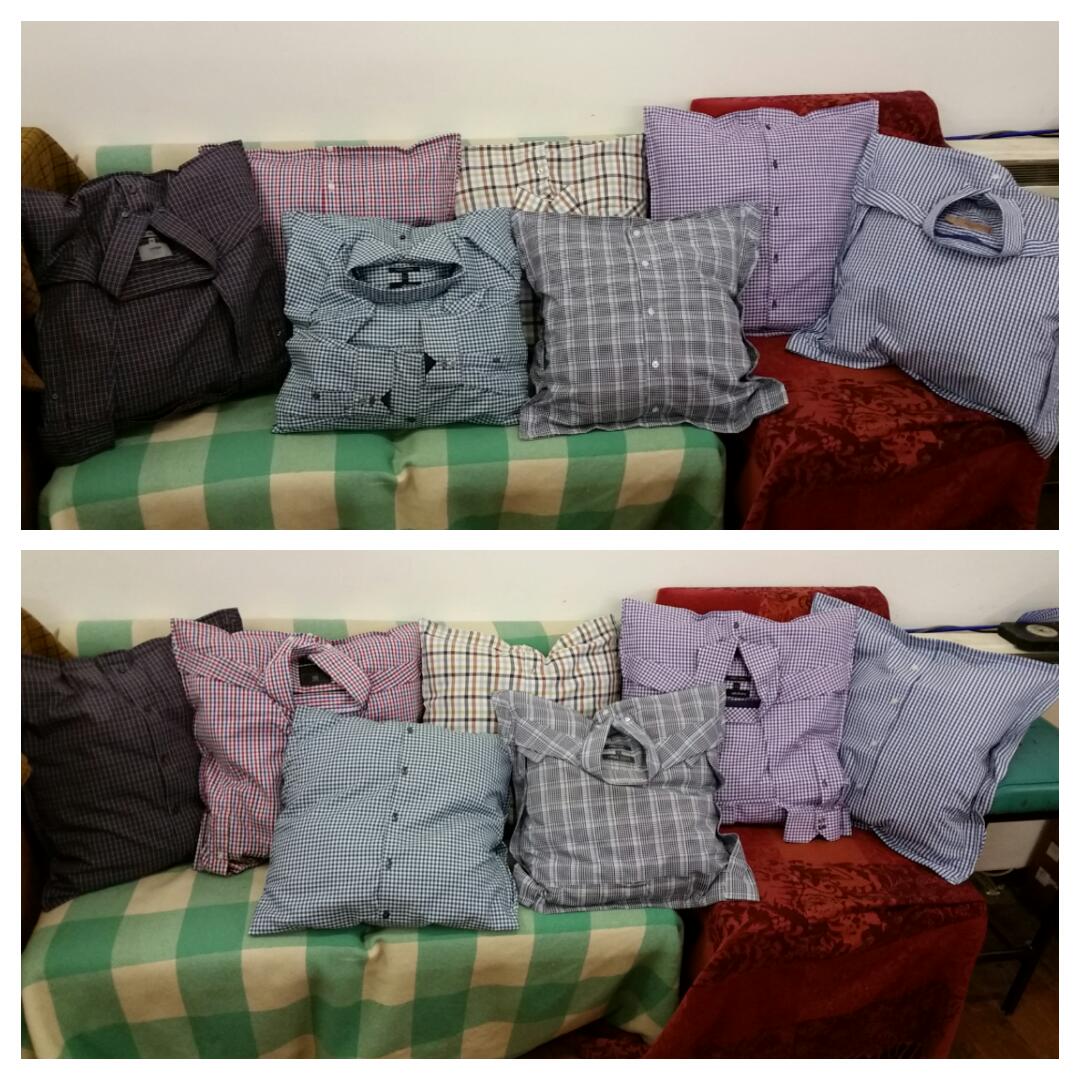
And there you have it. A simple tutorial for you to follow. The first shirt did take me far longer than it needed to, but the following shirts now only take about 2 hours each.
It would be great to see your versions of the memorial shirt so feel free to post your photo’s over on our Facebook Page.
I do hope you enjoyed following this tutorial and we would welcome your feedback.
Have a lovely crafty weekend, Faye
For more news sign up to The Weekly Drop
