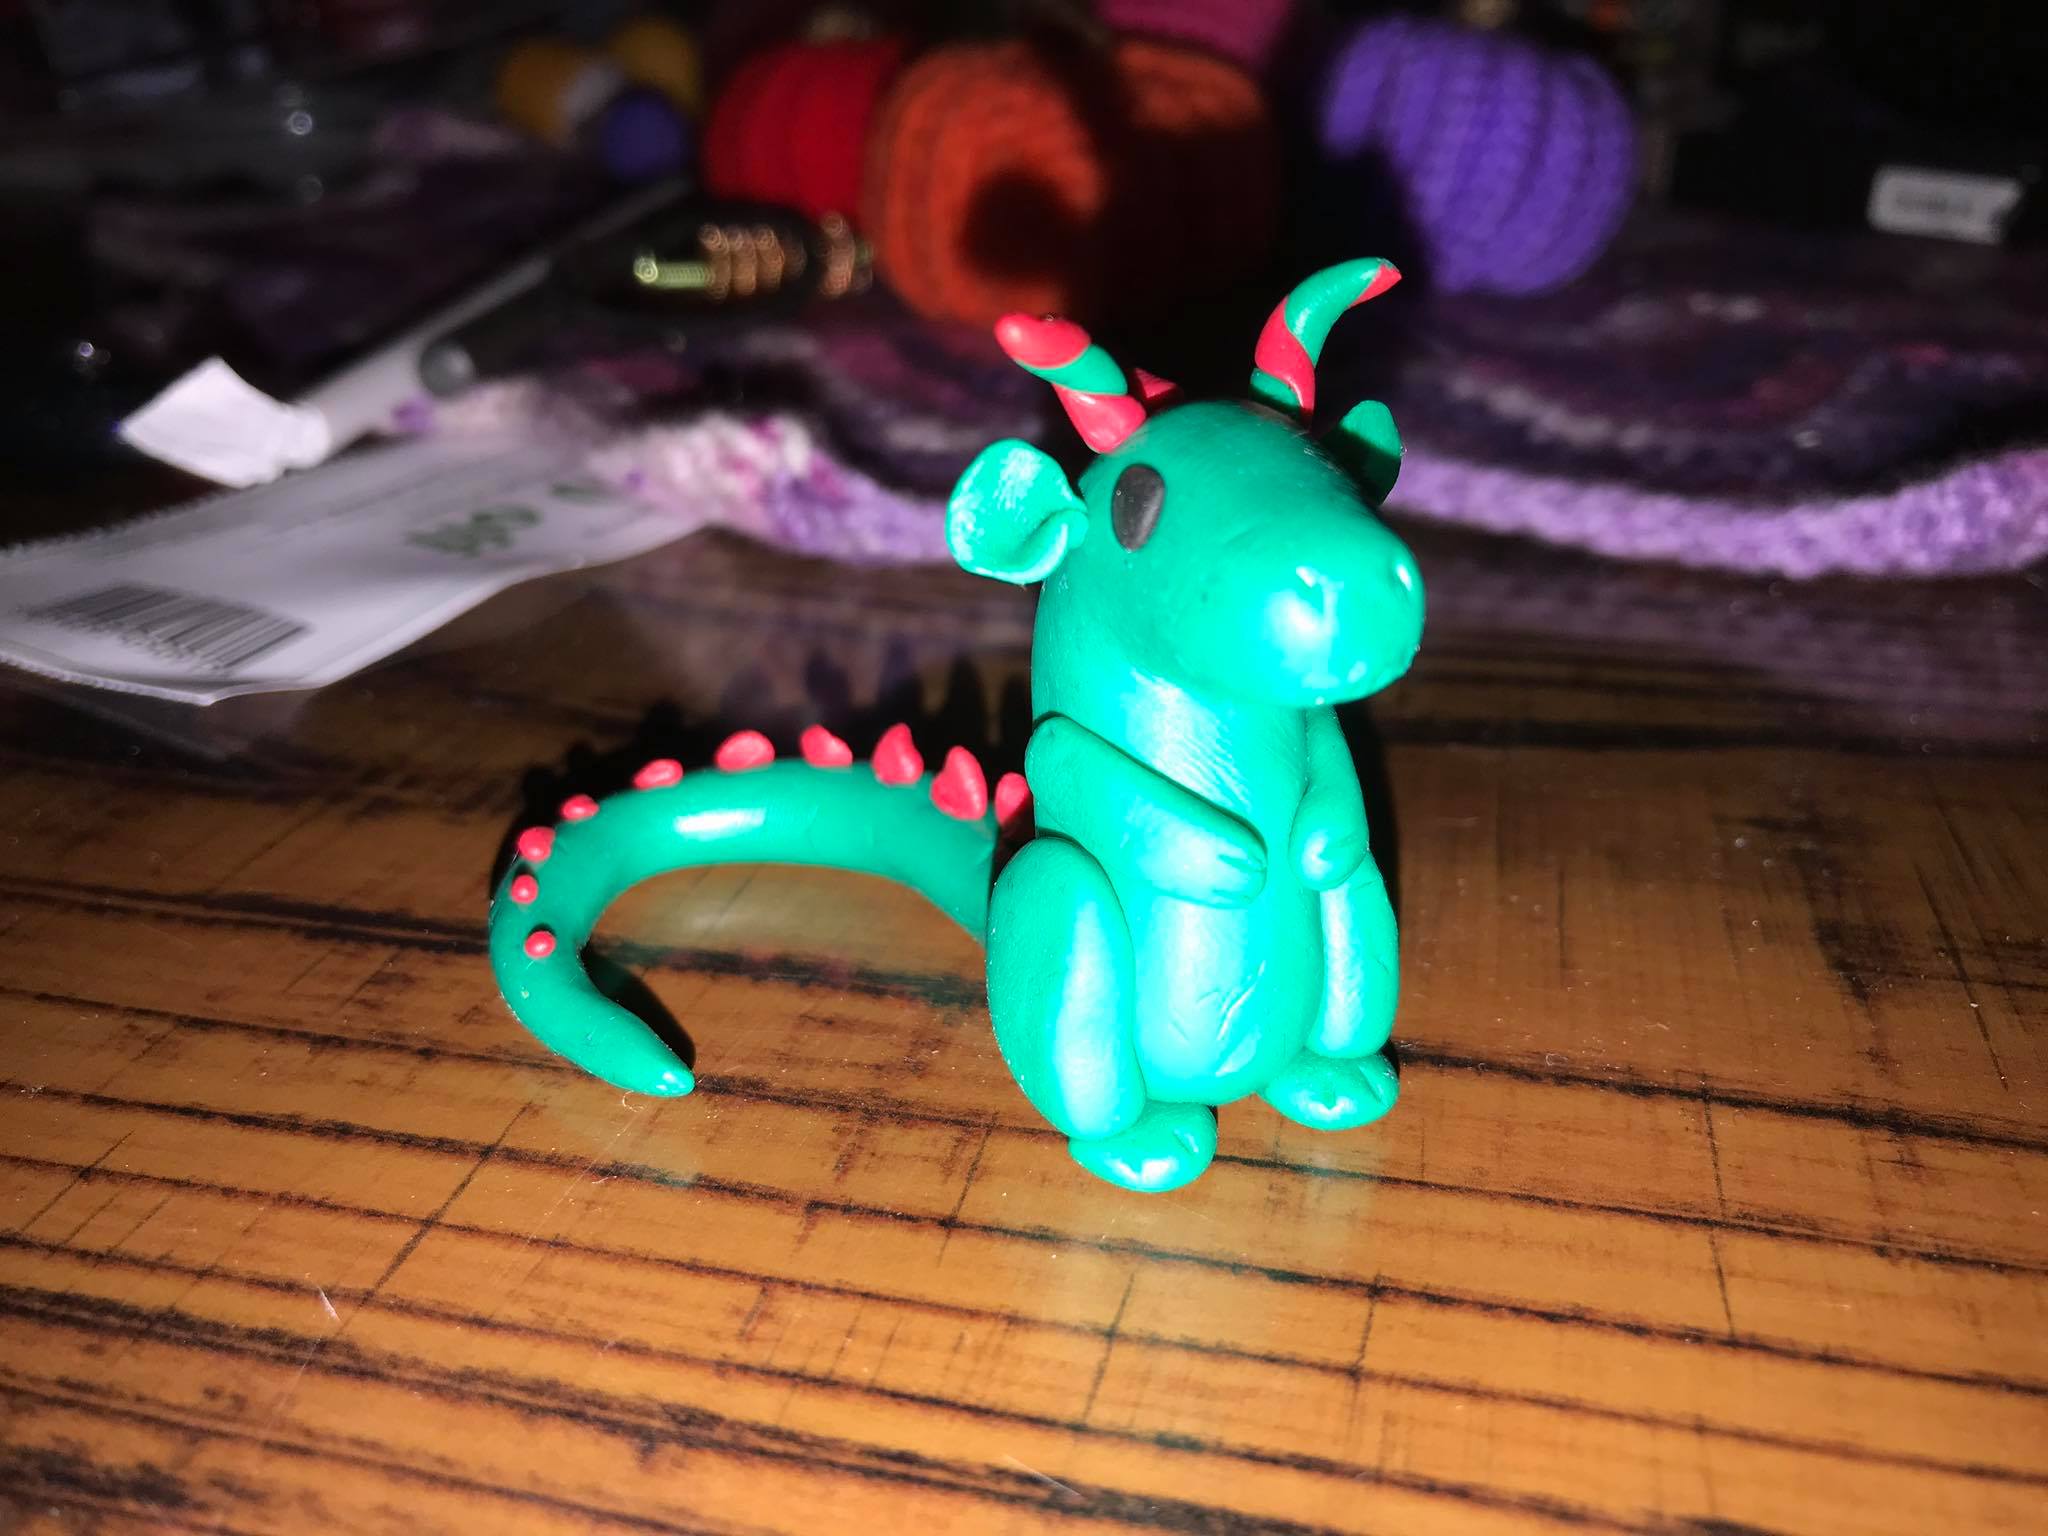
Polymer Clay Dragon Tutorial
Hello everyone! Today ive been working really hard putting together a step by step tutorial to make a little Polymer Clay dragon.
Faye gave me the idea of doing a tutorial and i hope ive made it easy enough to understand… so here we go!
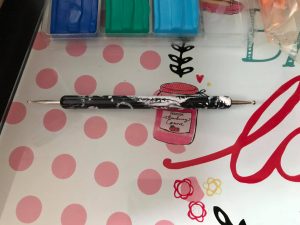
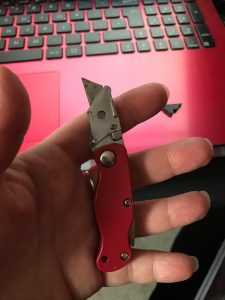
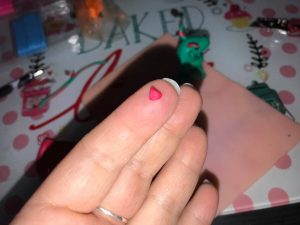
First of all you will need 2 colours of polymer clay of your choice and a little bit of black for the eyes, something to cut your clay (i use this cute knife I got from Poundland), for fine details i used a needle. but you can use what works best or whatever you have around you.
**Also preheat your oven to 110°c. Its so annoying when you’re ready to bake but the oven is still cold!!**
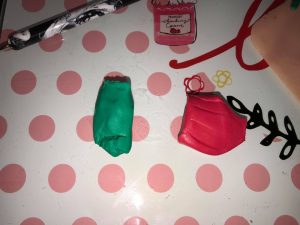
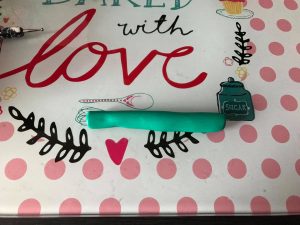
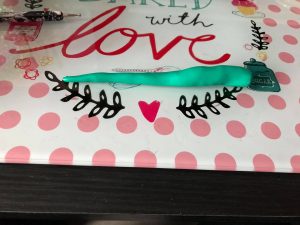
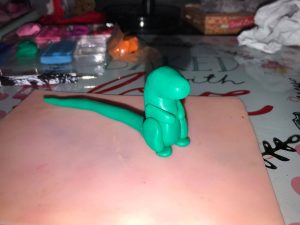
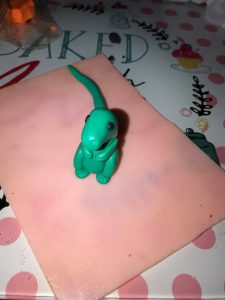
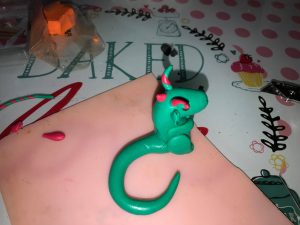
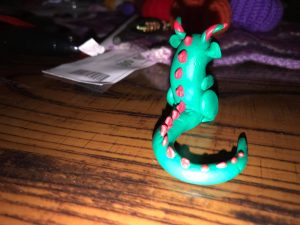
With your first colour, roll the clay into a ball and then into a sausage shape. then roll one end of the sausage so that it tapers into a long point to make a tail.
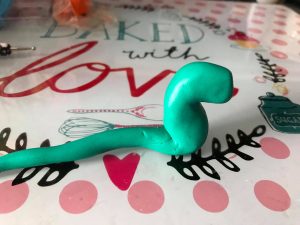
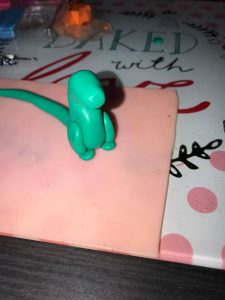
Then bend the fatter end up into an ‘S’ shape which will be the head and body. Pinch the end into a more pointy shape for the nose/face.
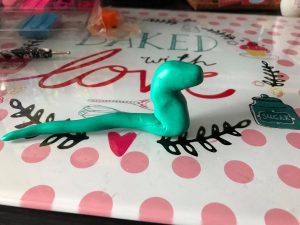
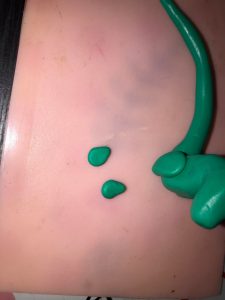
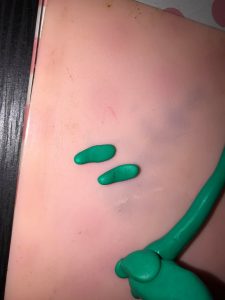
To make the legs, roll 2 small balls of clay, press them so they are flatter and then pinch one side to make a teardrop. Then place them on the lower half of the body with the point of the teardrop pointing downwards.
Next, for the feet, roll 2 very small balls, flatten them a little and pinch to make the teardrop shape. Then place them underneath to line up with the leg.
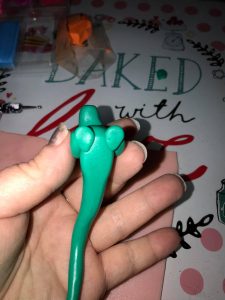
For the arms, roll 2 little sausage shapes, flatten a bit at one end (the bit that isnt flat is the hand), then place them just above the leg so they curve round the body and the hands meet at the front in the middle.
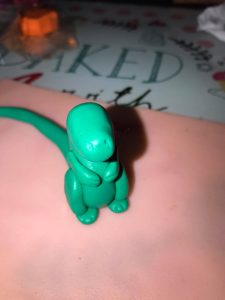
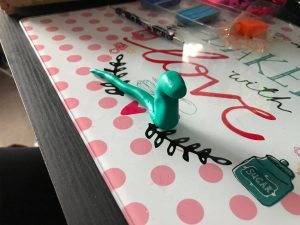
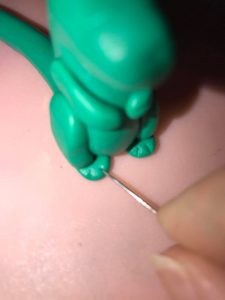
I used the pointy end of the needle to make the little toe and finger details and the little nose hole shapes with the eye of the needle.
The eyes are 2 little balls of black clay. place them either side of the head.
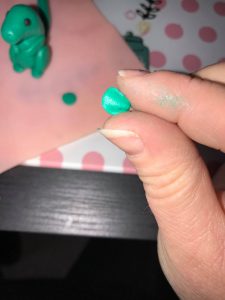
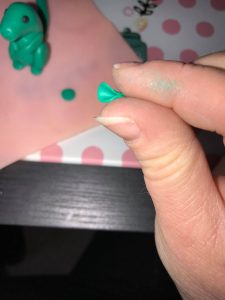
To make the ears, roll 2 little balls. Flatten them out like little pancakes, carefully pick up and pinch at one side to make a little cone like shape. (Hope the pic shows what i mean) Then place them on either side of the head a little further back from the eyes.


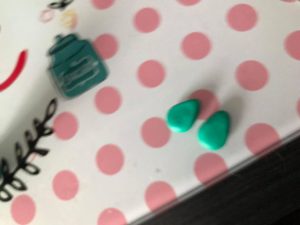
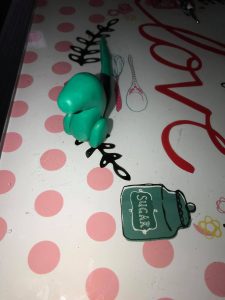
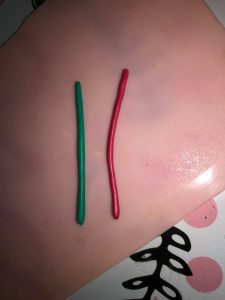
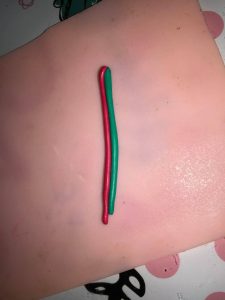
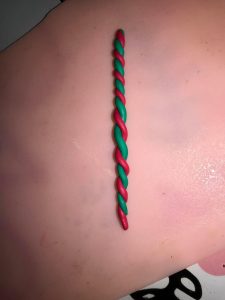
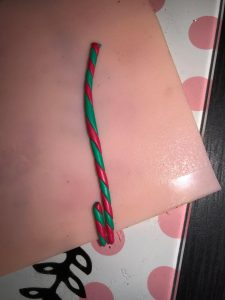
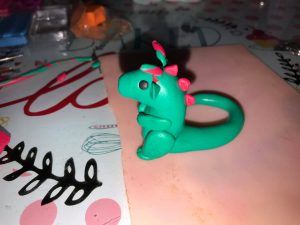
We can start using our second colour! For the horns, roll 2 long thin pieces of clay. One of each colour. put them together and then twist them to make a nice swirl. cut about half an inch for each horn. Roll a little in your fingers to make a pointy end and then place on the head, inline with the ears but more on top of the head.
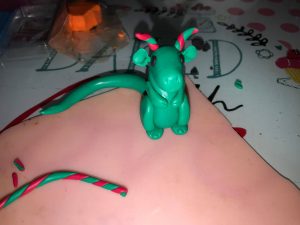
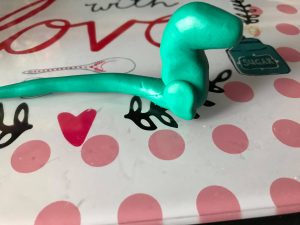
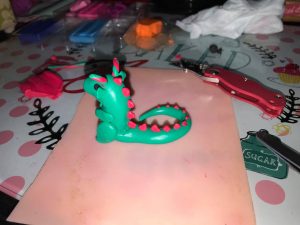
Were nearly finished! For the spikes, using your second colour make tiny little triangles and place them down the back and the tail. This can get a bit fiddly if you make them smaller as you get to the end of the tail.
So! put him in the oven for 12-15 minutes and then you’re all done!

I hope this was helpful and I explained things properly.
See you all on my next blog!!